How to Draw a Bong - Easy Stoner Art
Hi Bud! In this blog post, I’m going to show you how a draw a bong!
Cannabis can definitely spark up your creativity and make you want to draw, so if you’re feeling the spark then you’re in the right place.
This easy step by step guide will show you how to draw a super basic bong and you can create your own stoner art.
Follow the pictures down below and then practice, practice, practice!
Once you’re feeling a bit more confident then you can start playing around with the shape of the bong after all they come in many shapes and sizes.
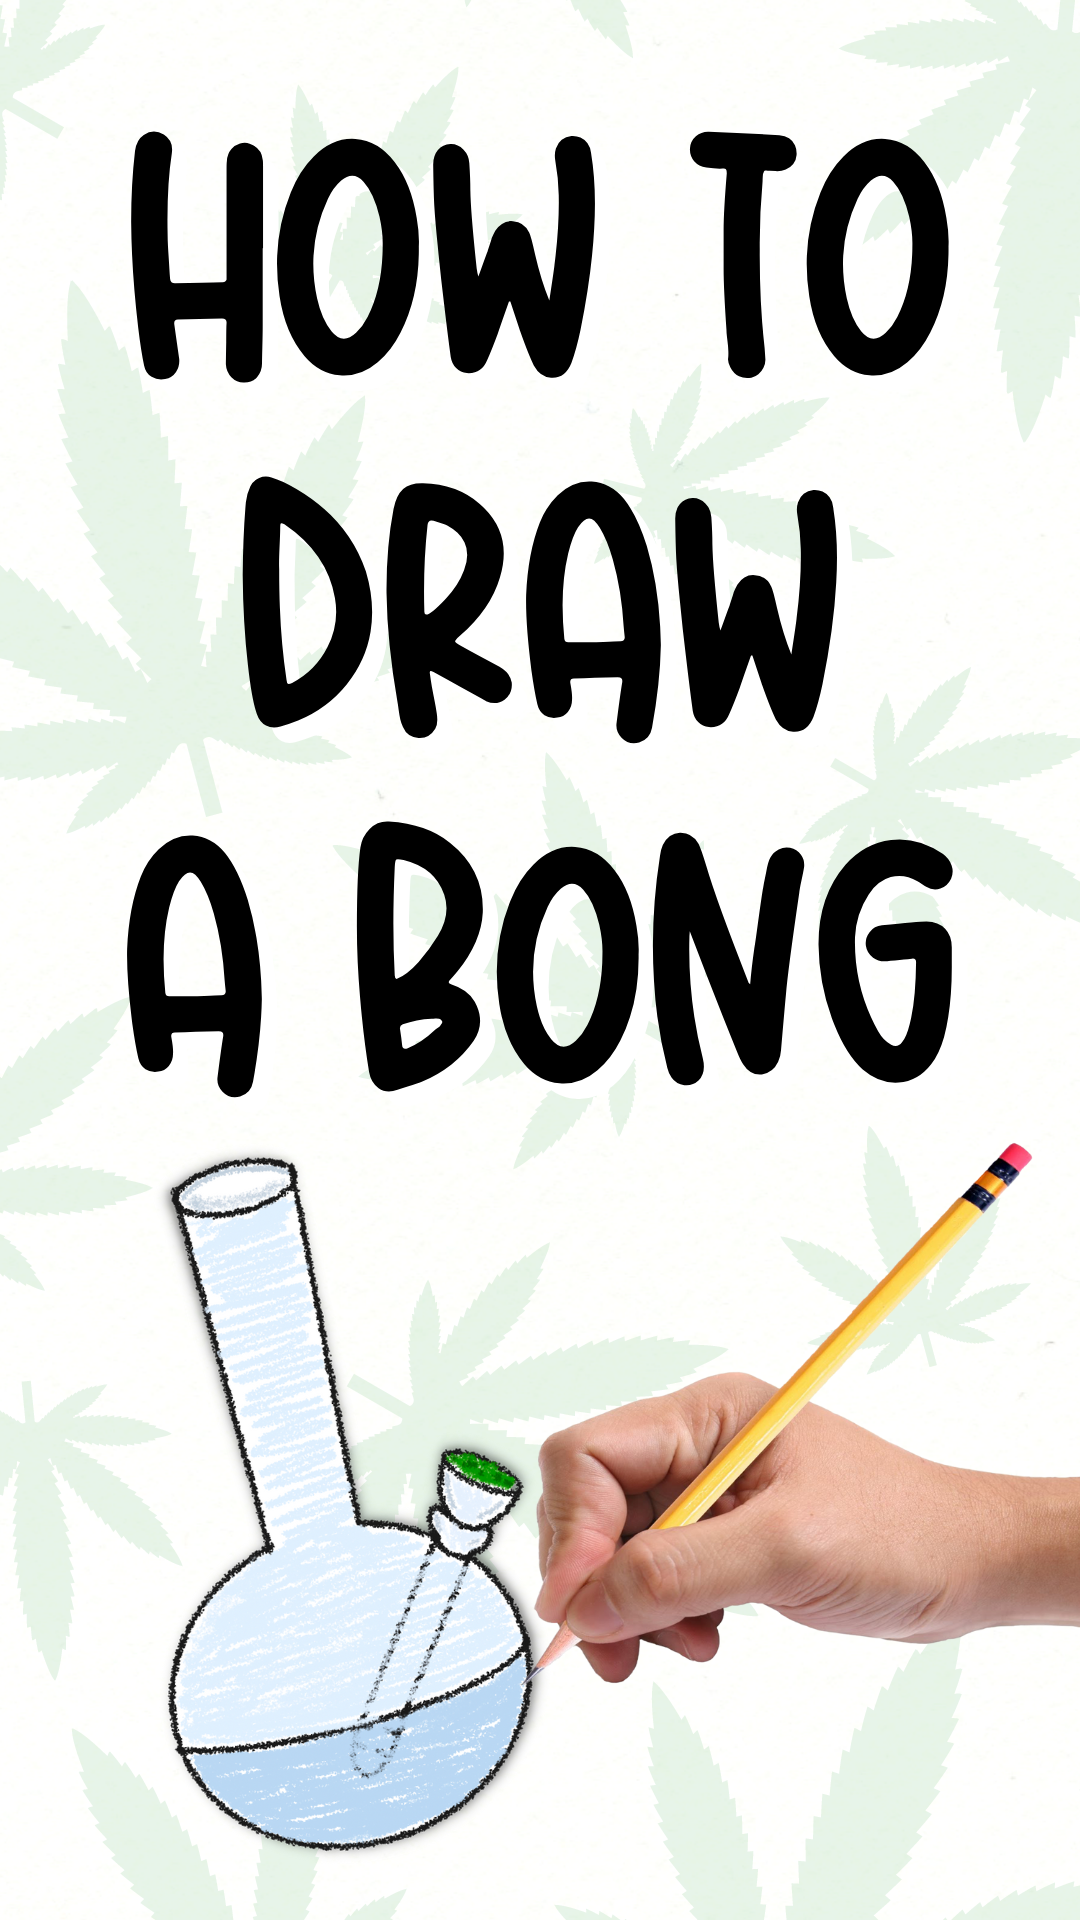
HOW TO DRAW A BONG
💨
HOW TO DRAW A BONG 💨
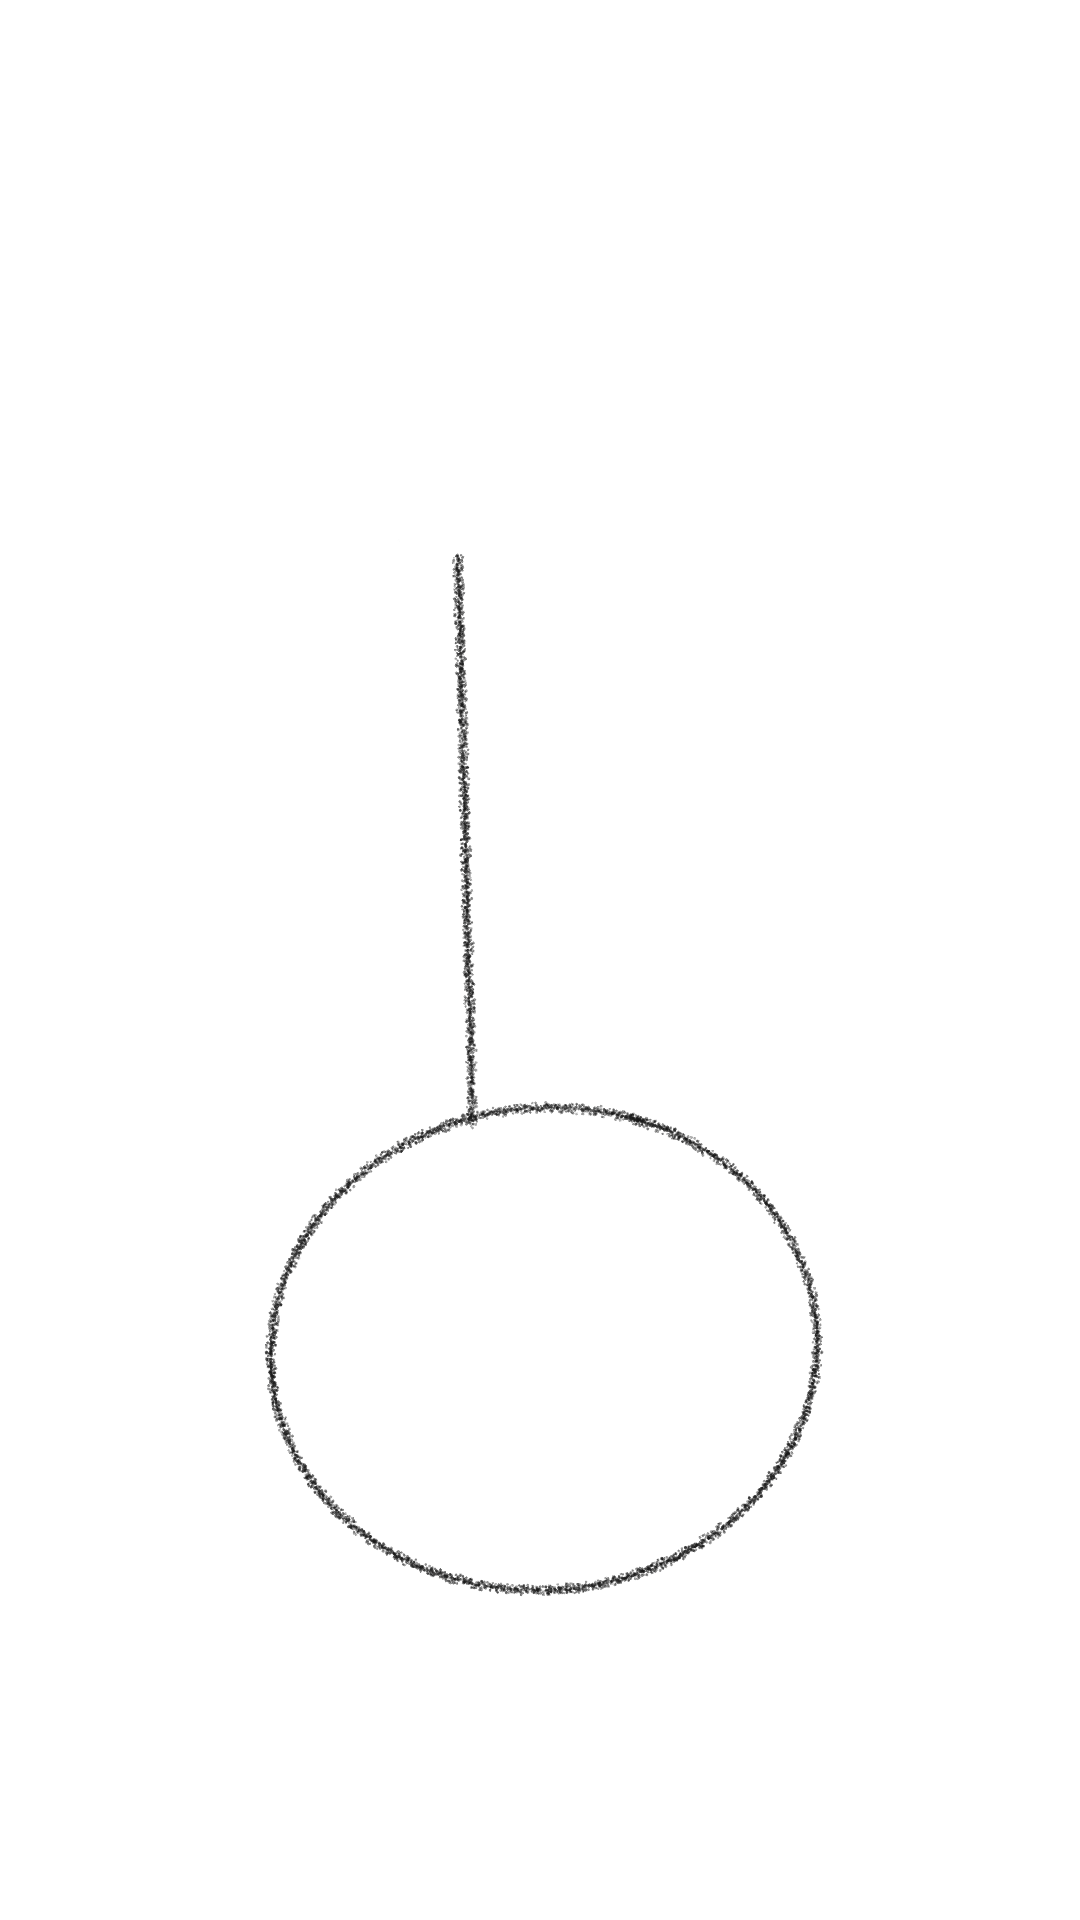
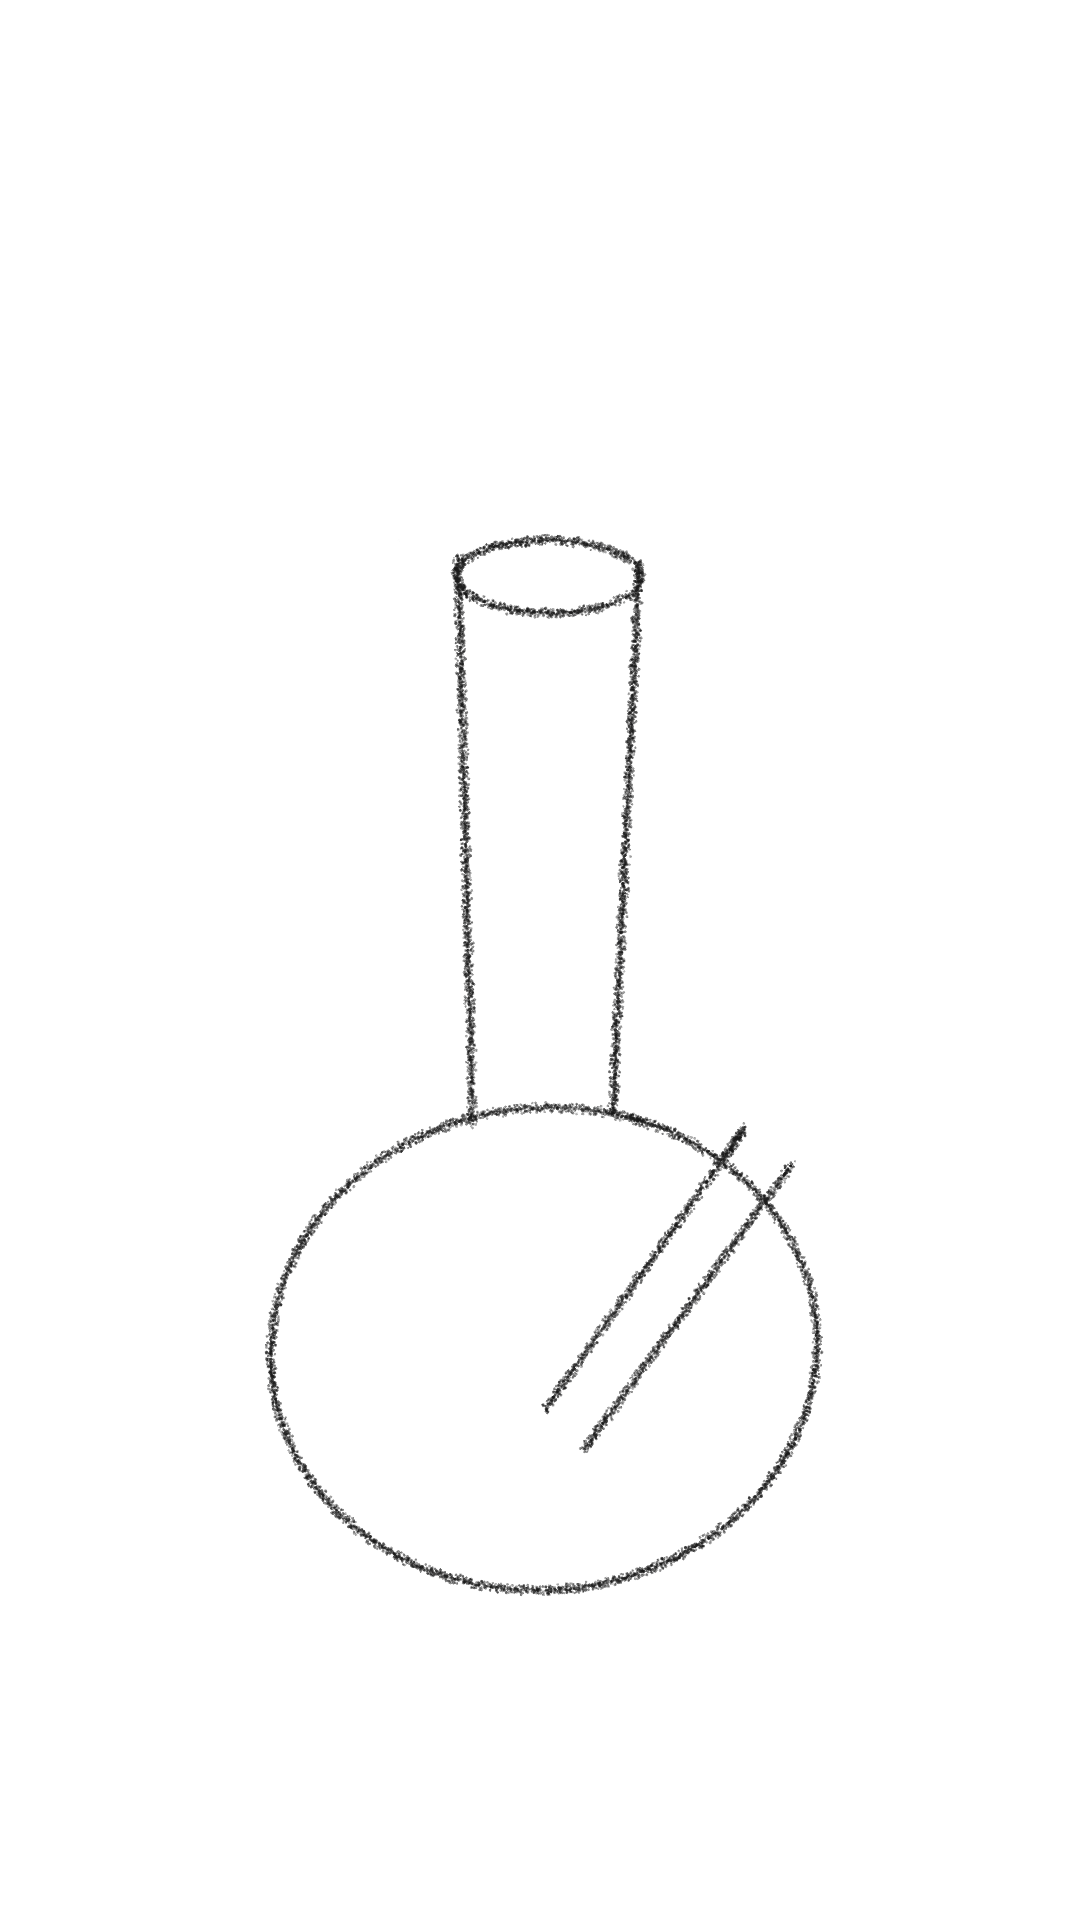
Step One - Draw the base of your bong, the most common styles of bong have a circle or a beaker (a triangle)
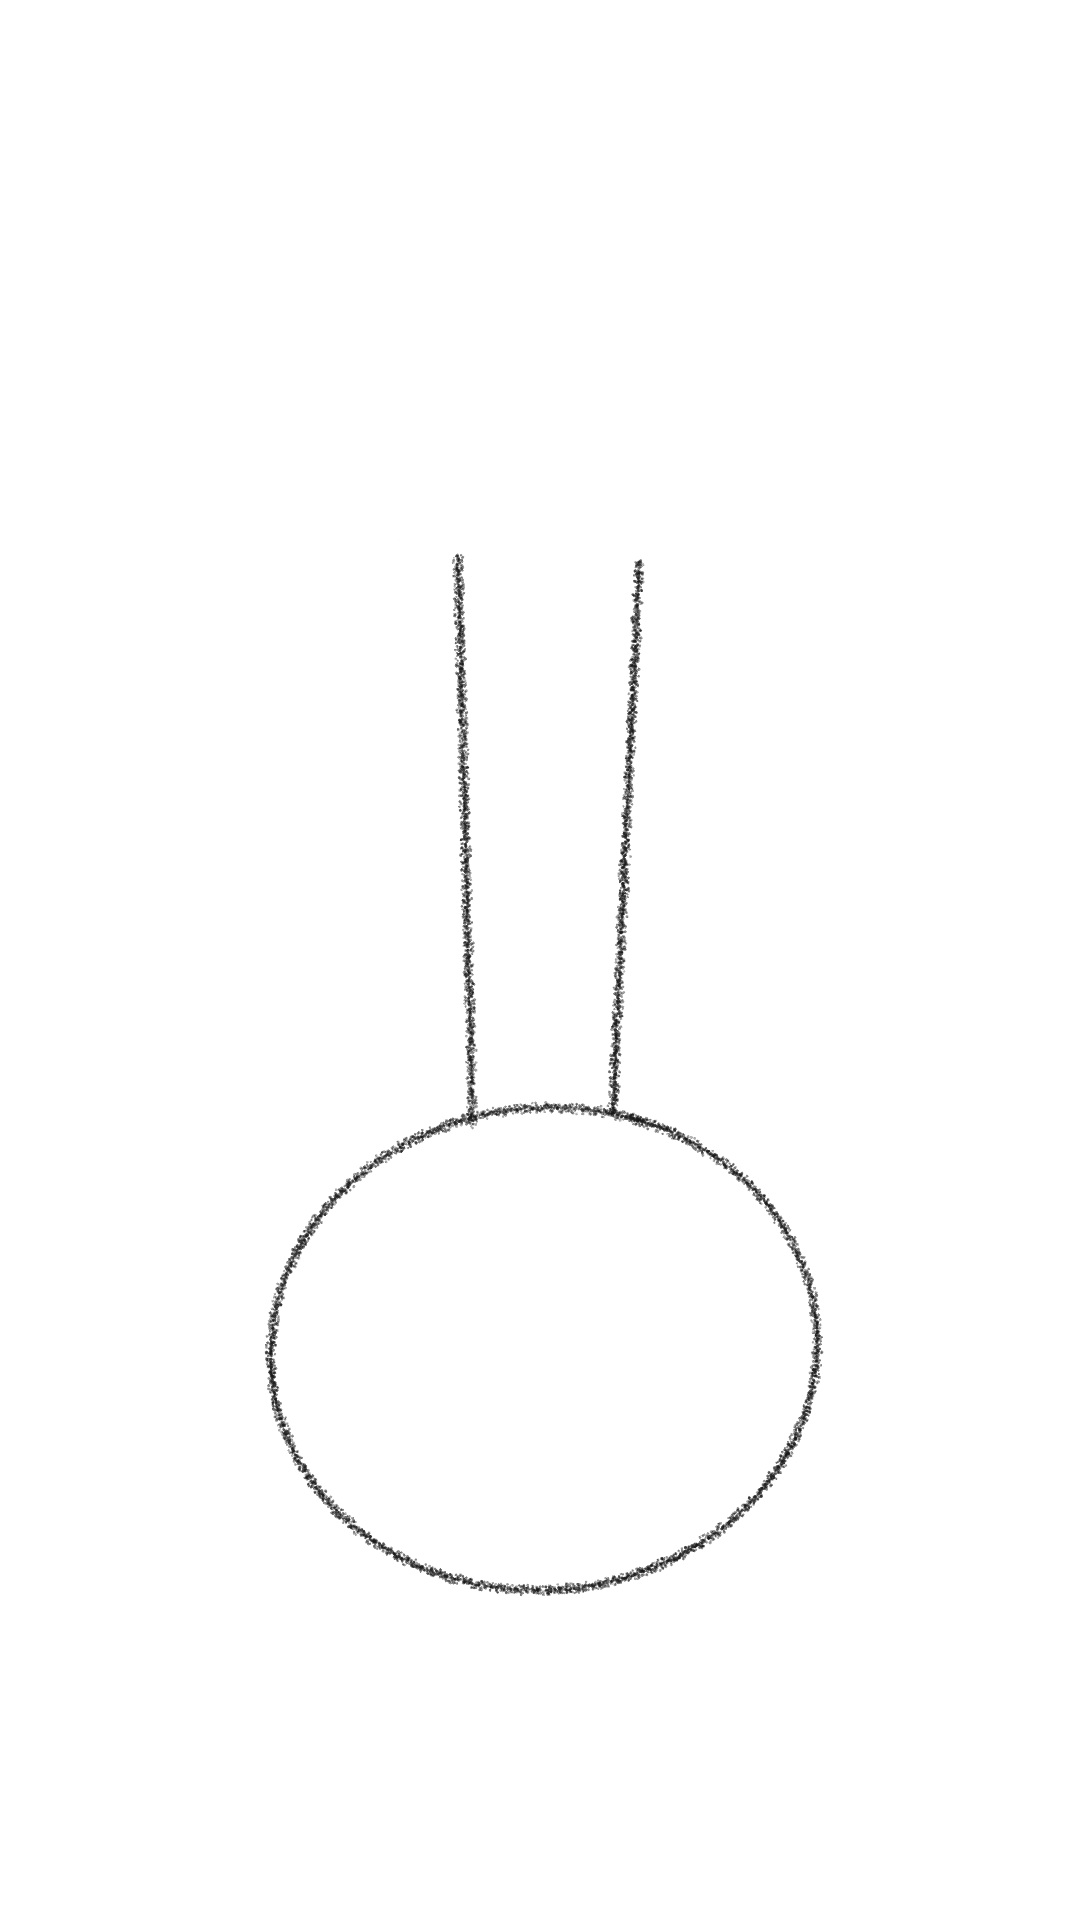
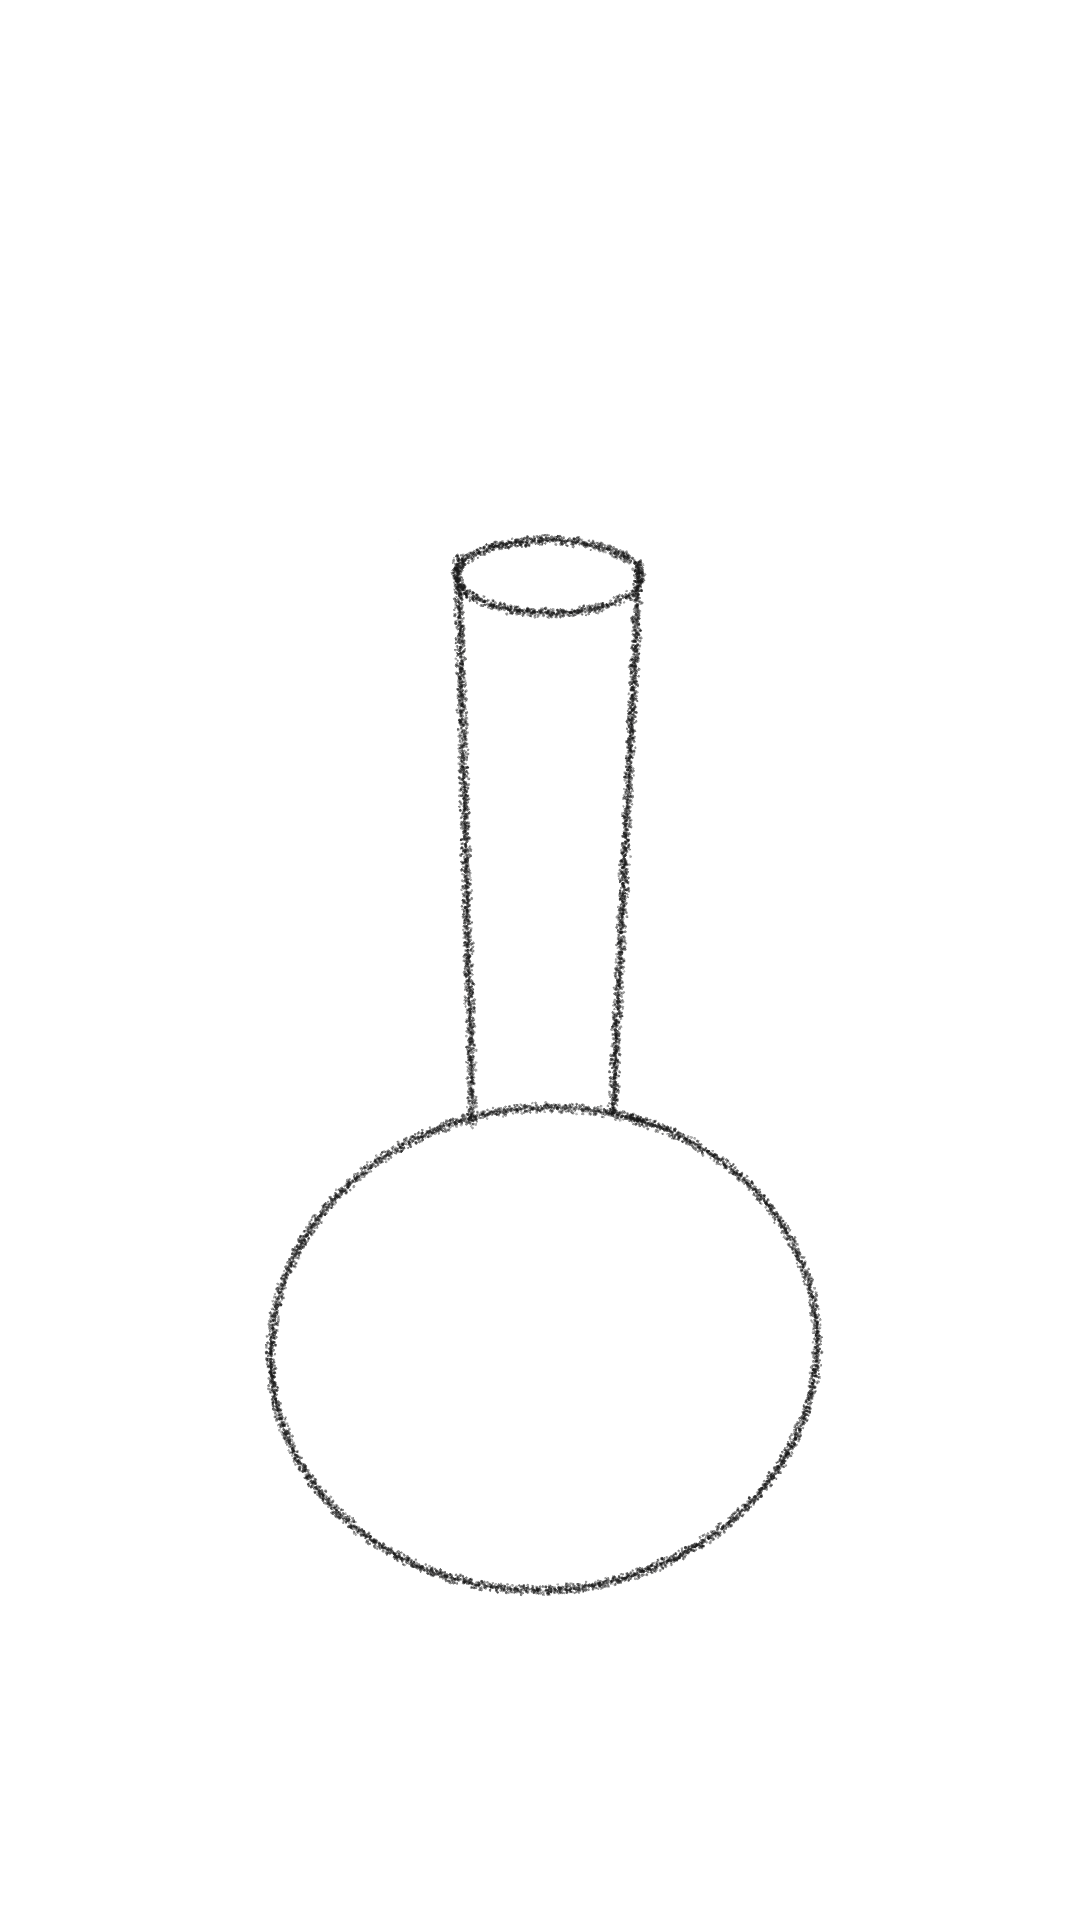
Step Two - Draw the mouthpiece which is essentially two lines that are connected to the base of the bong and an oval at the top of the tube to make the mouthpiece
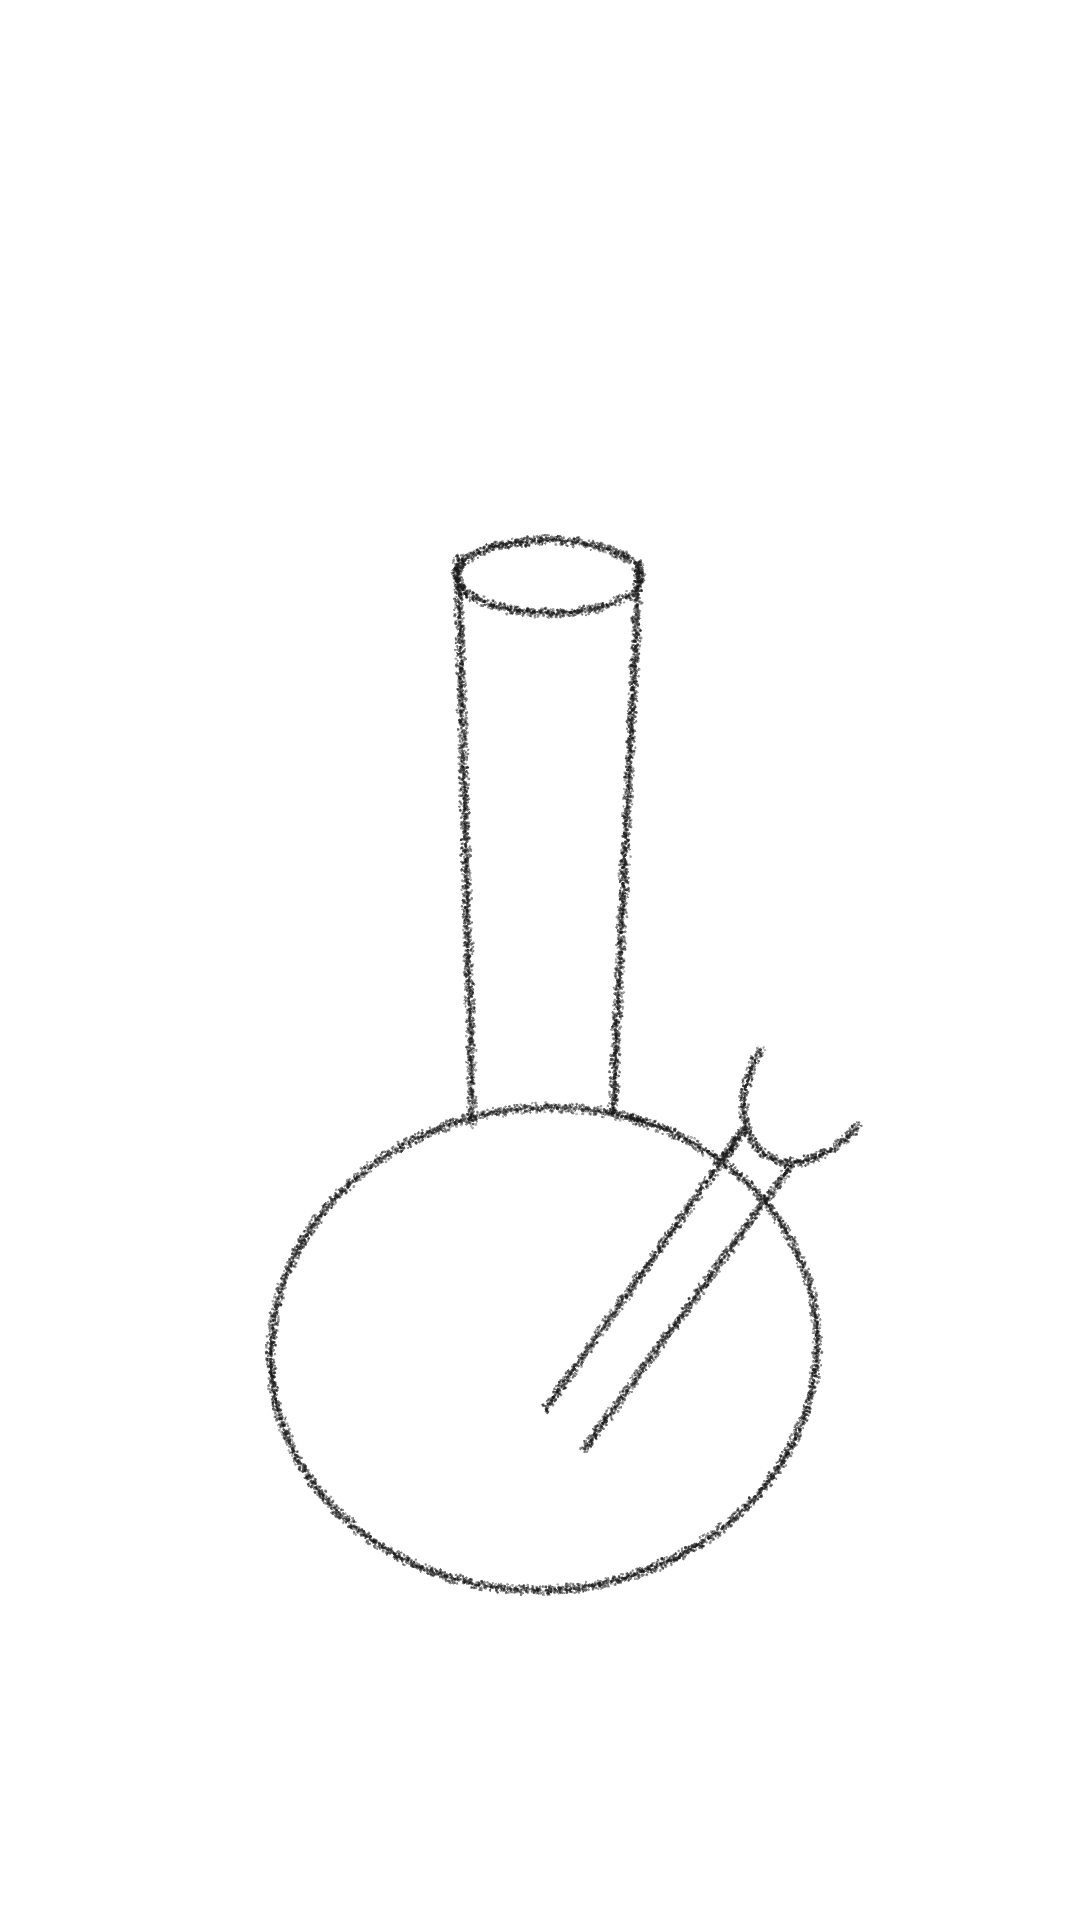
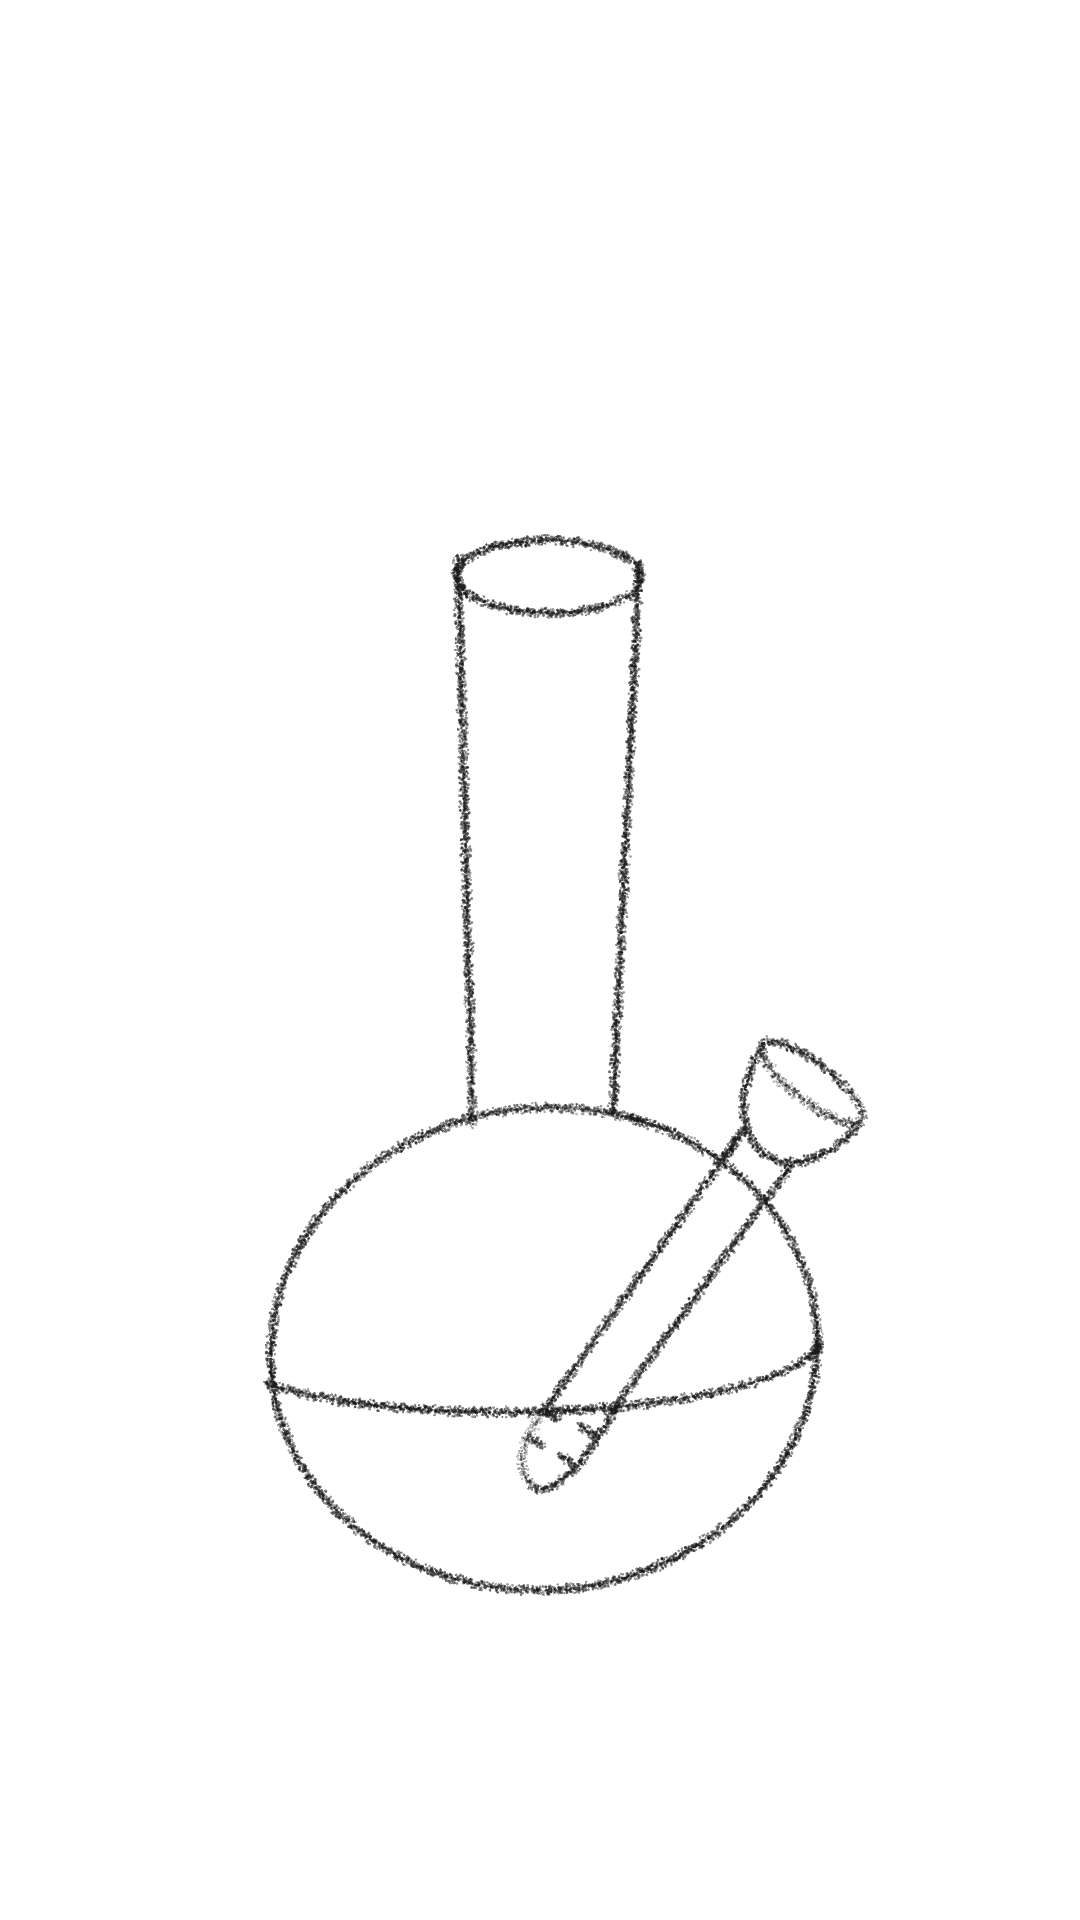
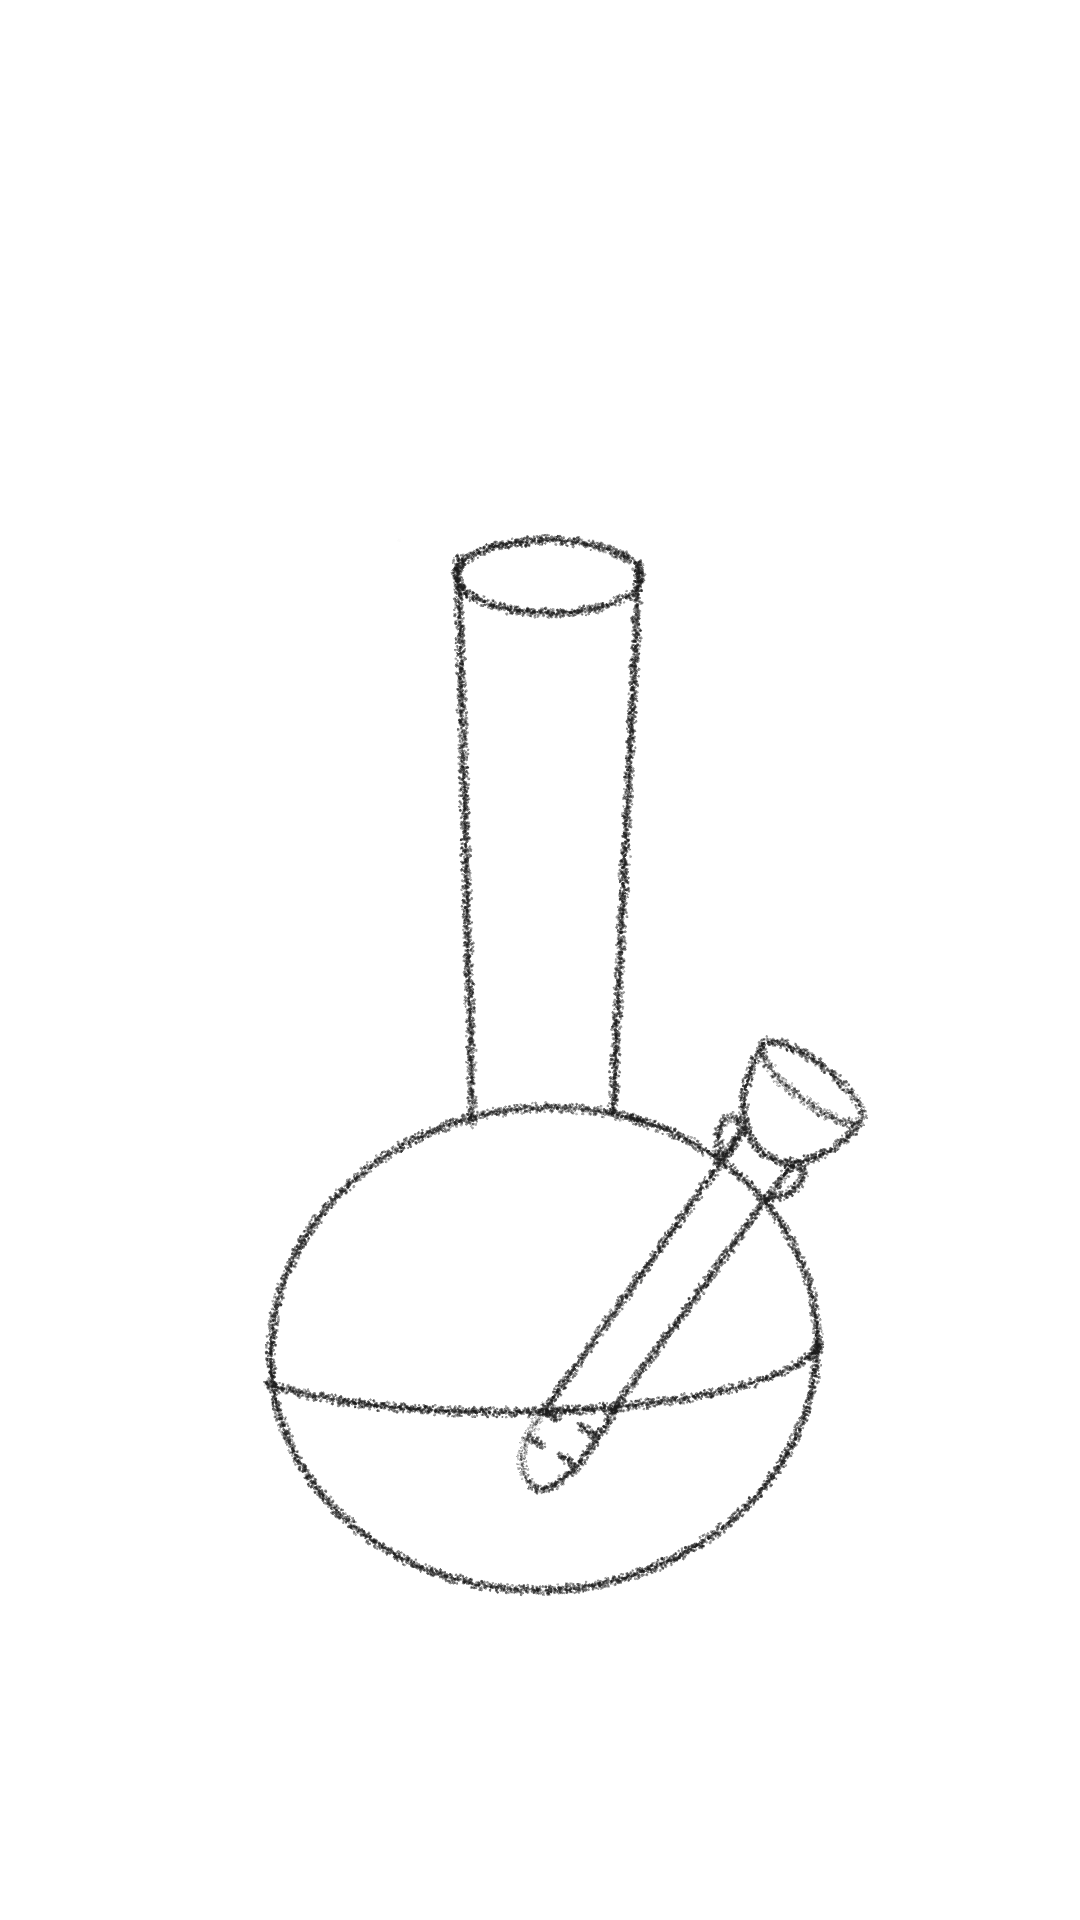
Step Three - Now you’re going to add the downstem. This part is probably the trickiest part of the drawing to make it look right. Make sure you have a good eraser
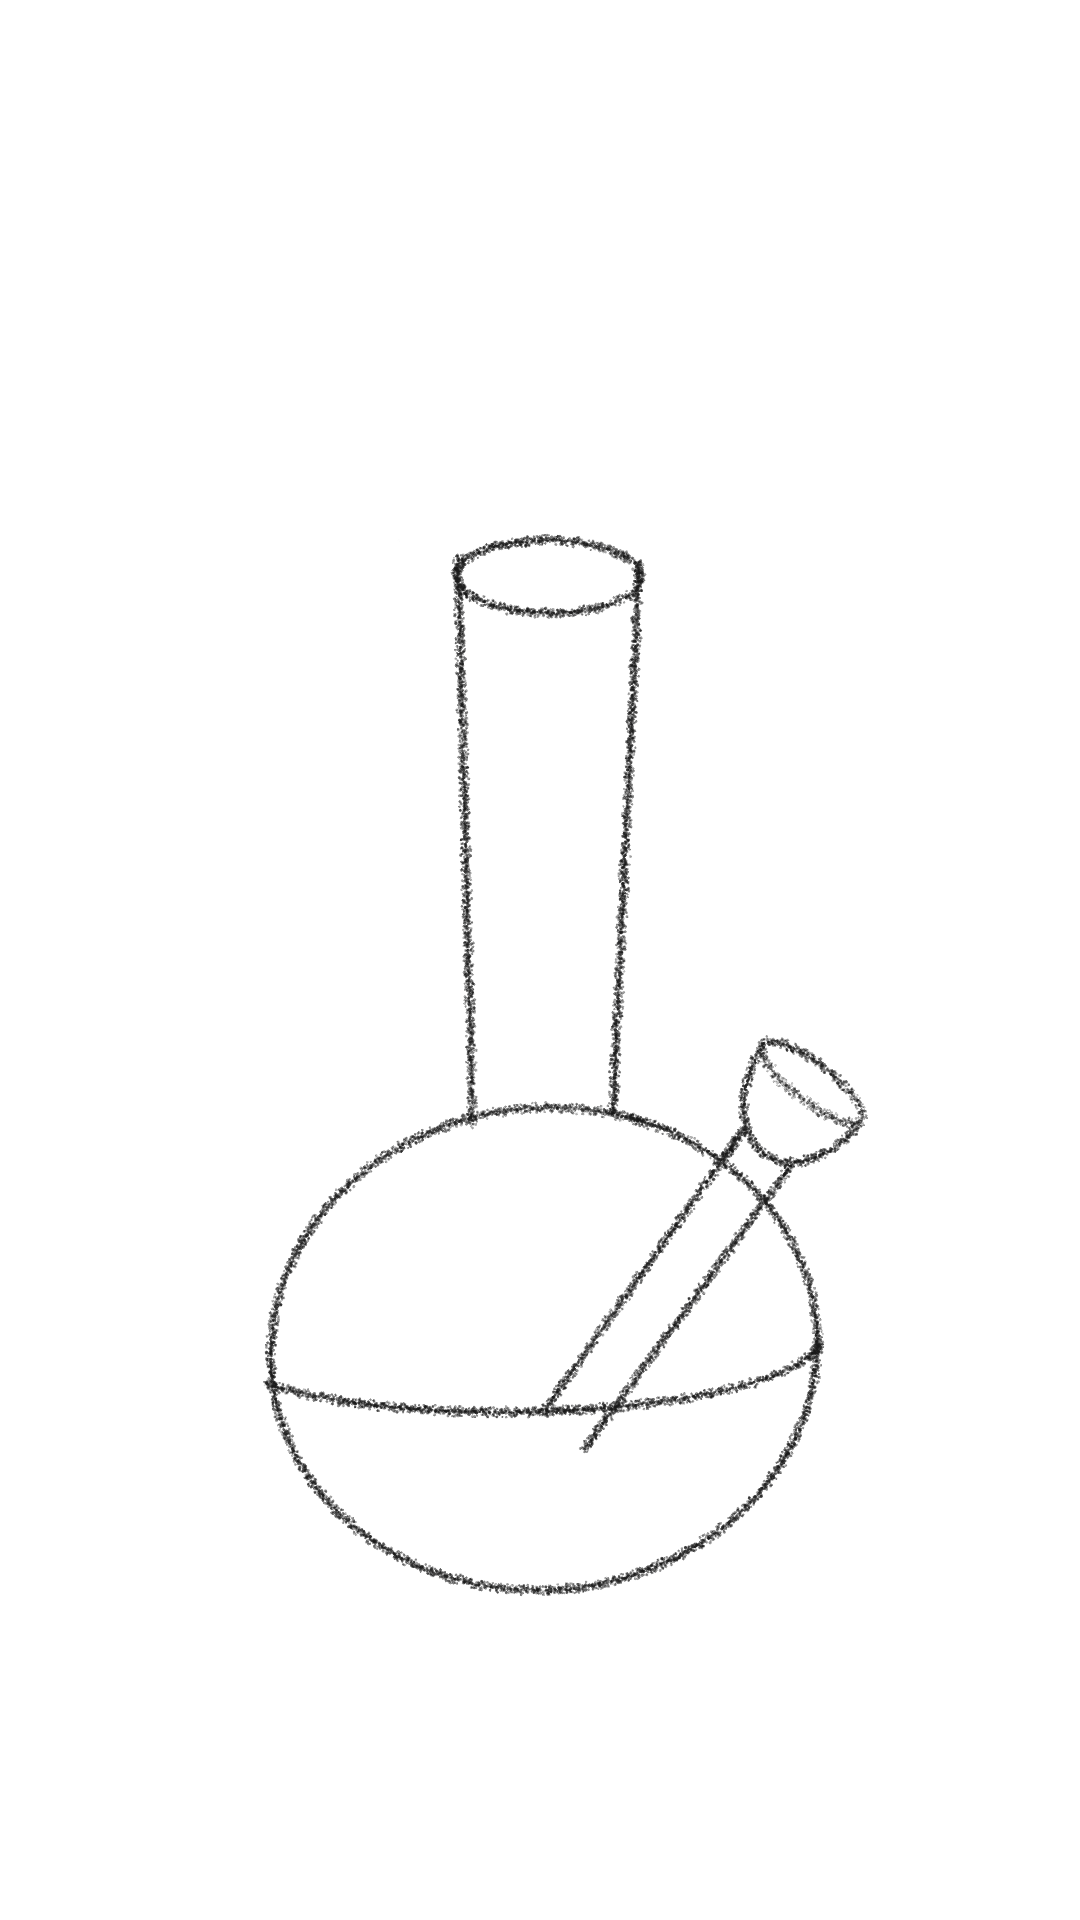
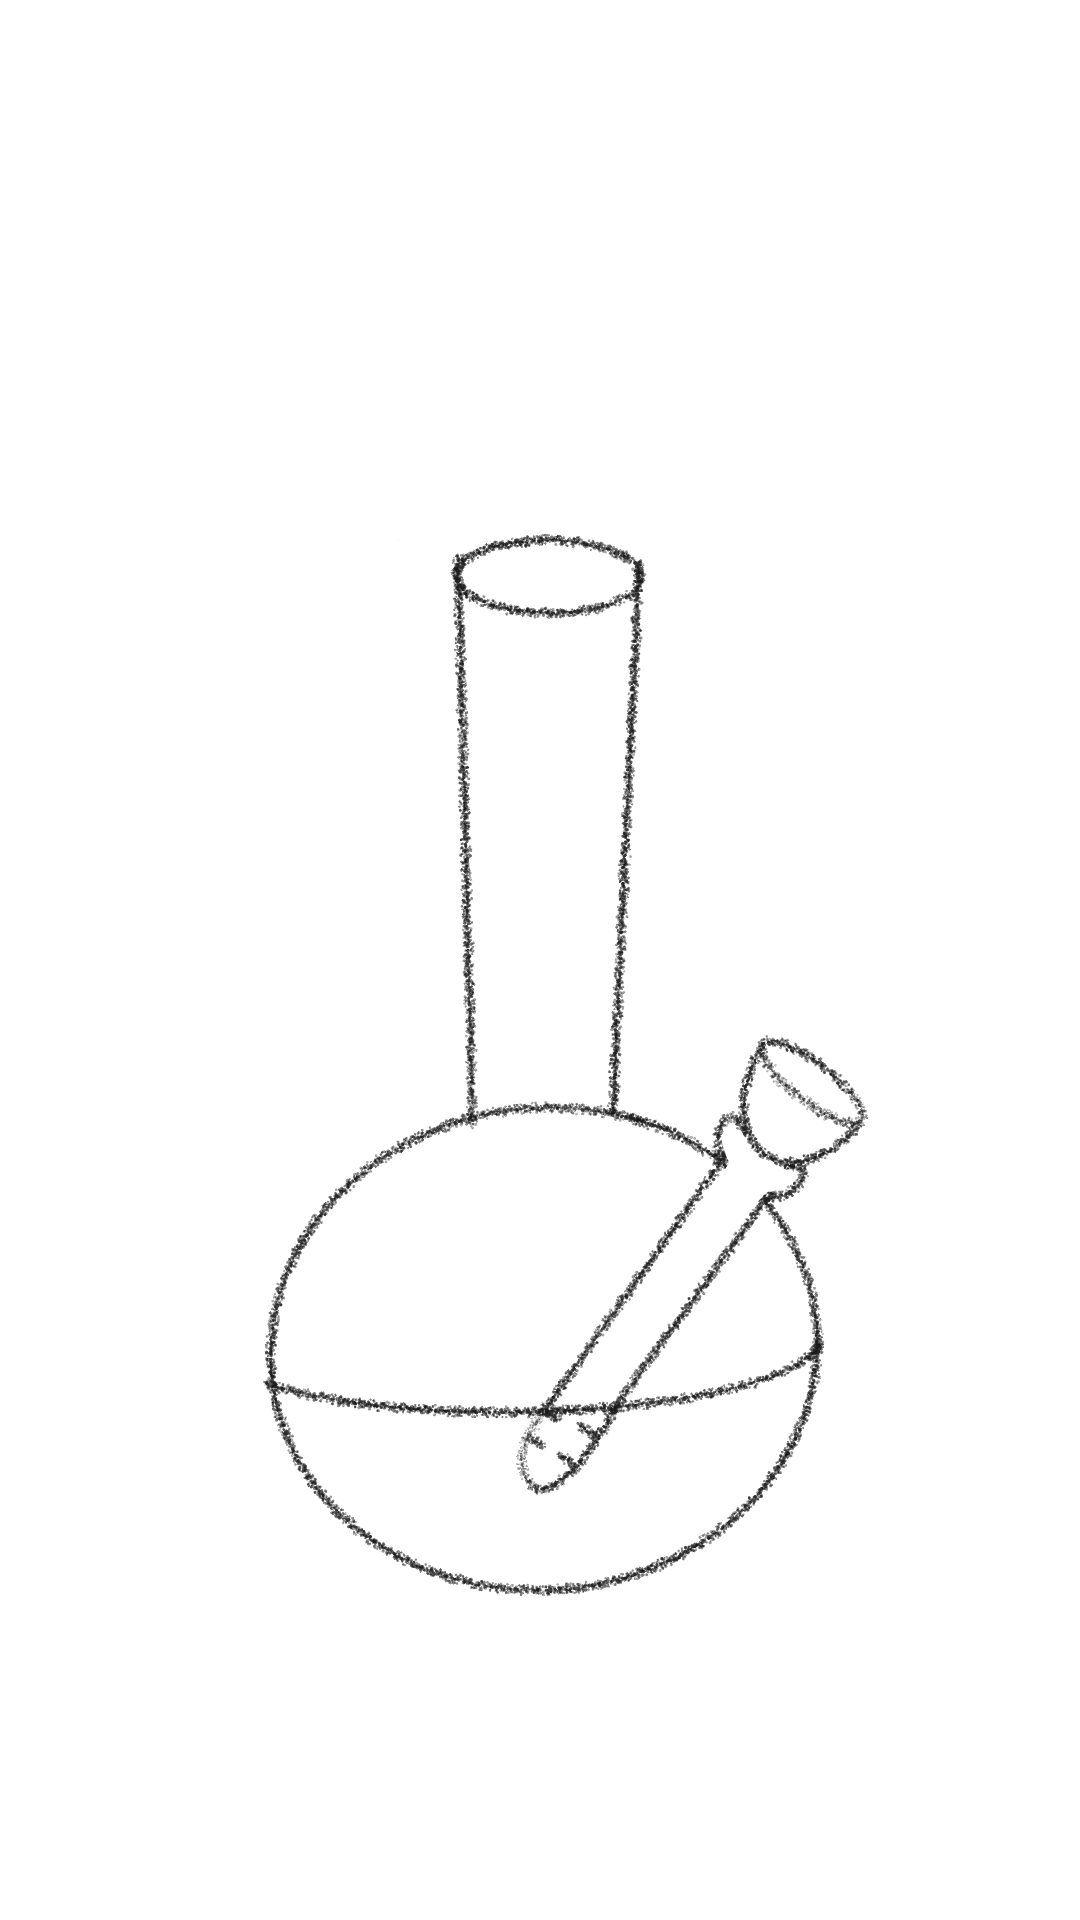
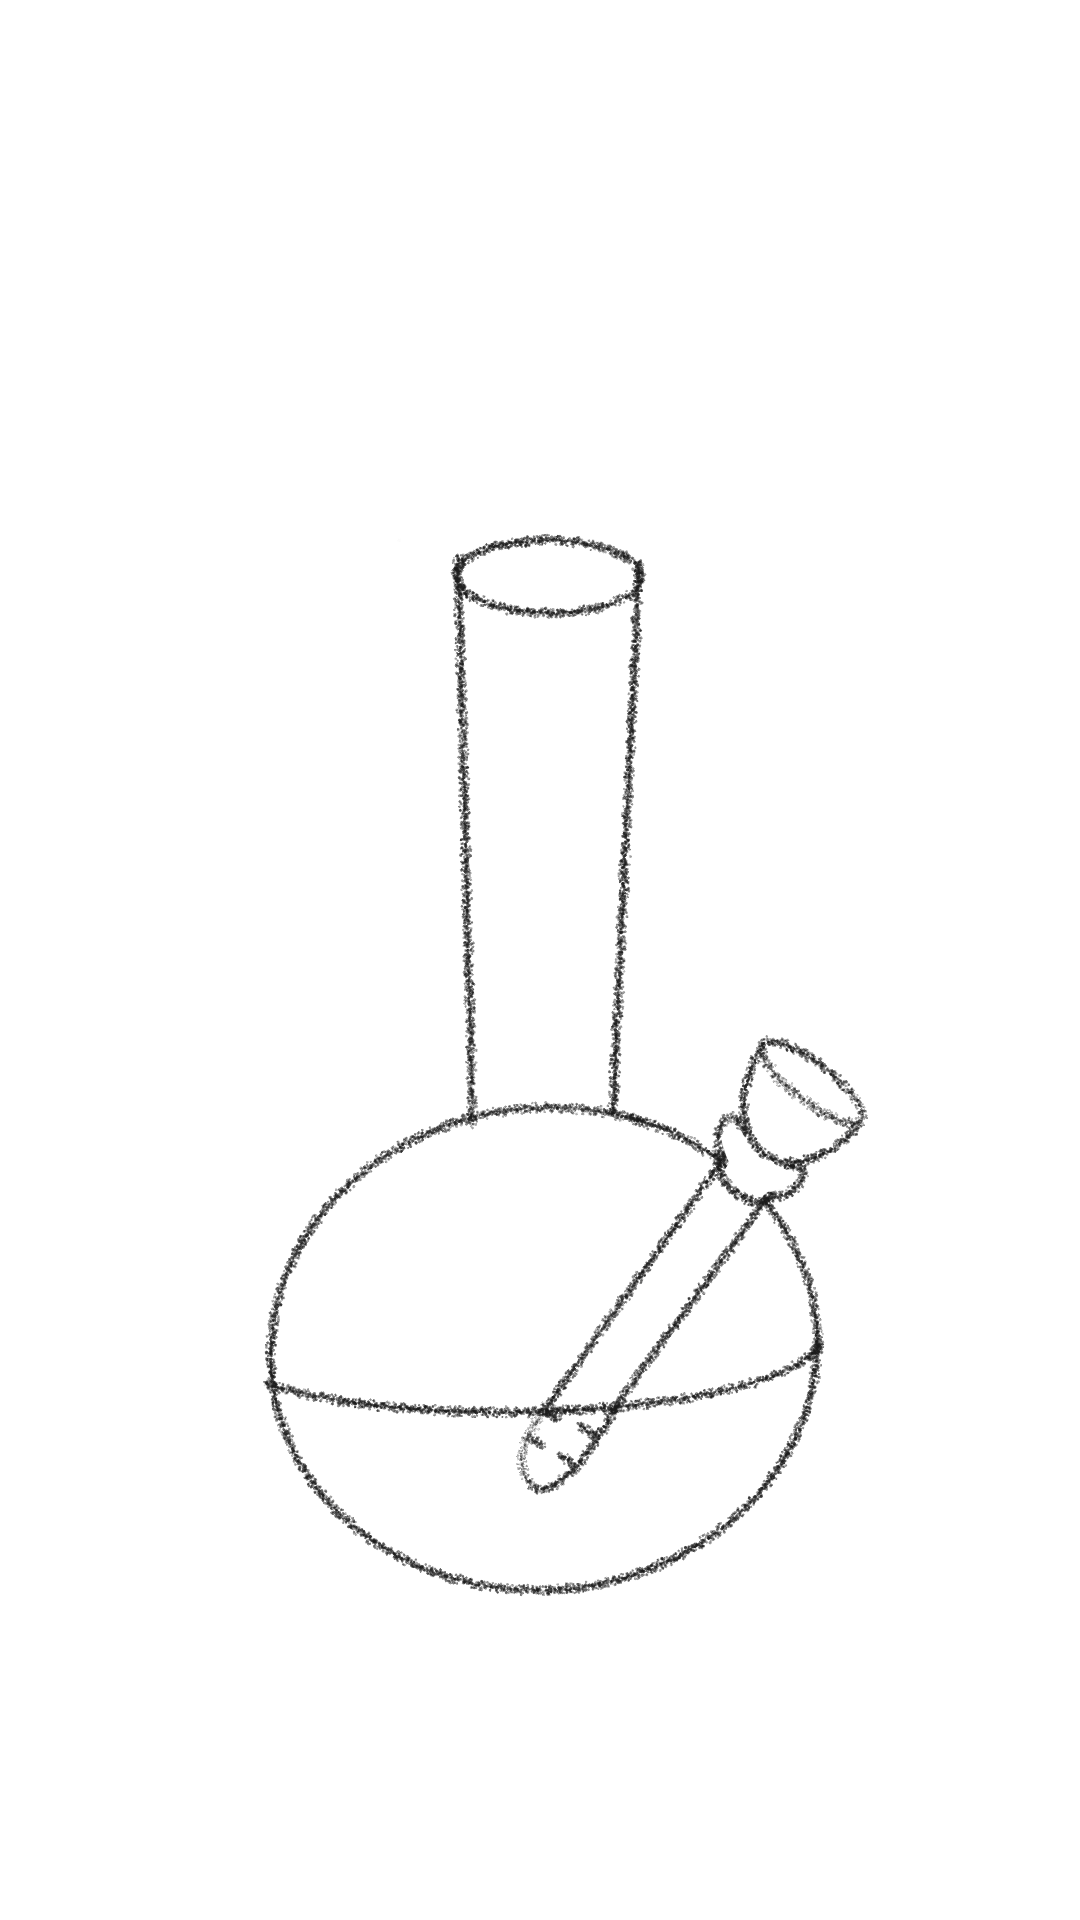
Step Four - Once you have your downstream in place draw the bowl on top of that. Bong bowls can also be a variety of shapes but usually, they are cup-shaped or triangular. At this point you can also erase some of the lines you don’t need anymore.
Step Five - Draw the water line in the bong, which usually fills up about a 3rd of the cavity
Step Six - Add some color to your bong, you can go for a classic clear glass which, draw some patterns on it, fill it in with your favorite colors. The possibilities are endless.
If you want some inspiration for bongs just google the word “bongs” and you’ll see lots of shapes and styles that you can imitate in your drawings.
Make your own stoner art!
If you want to do some more stoner art then pick up my coloring book, Color Me Cannabis on Amazon!
In the book you’ll learn how to draw a pot leaf, decorate your own stoner accessories, and of course color some cannabis.
